
For an Archer build, begin with Combo and Crit on gear, then choose skills and Pals for the fight you need to clear. A boss that survives until the timer expires calls for a different change than an opponent that defeats you before your skills return. The options below help you make that choice without treating one five-slot set as compulsory.
Equipment: separate Combo rate from Combo damage
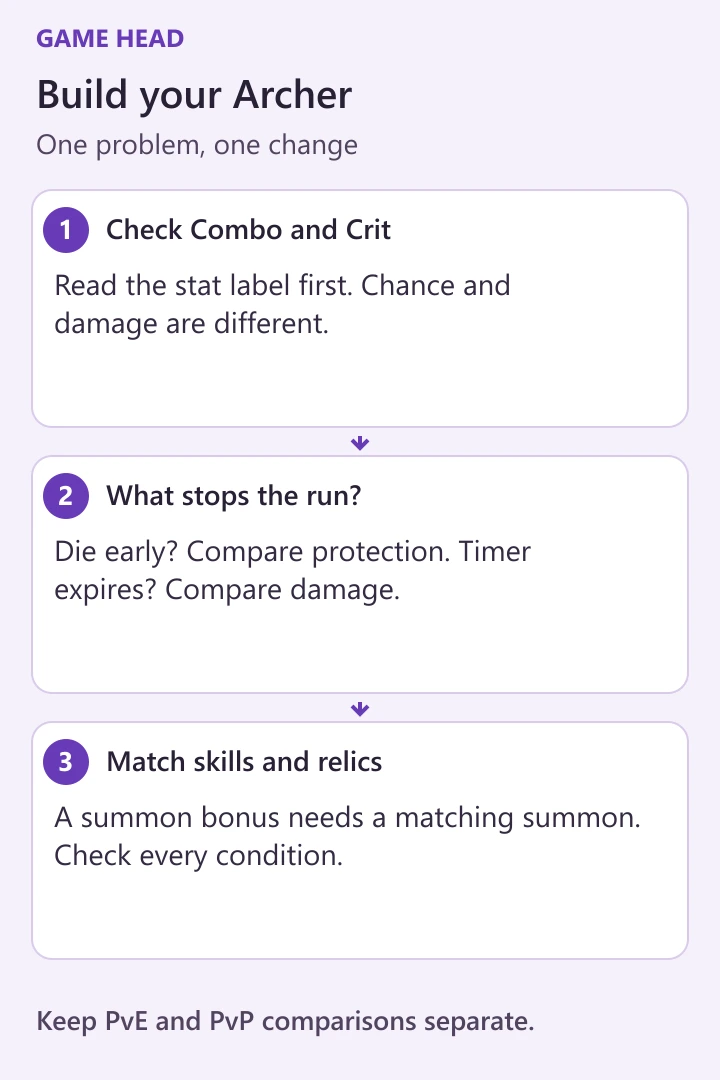
The early Archer guide by player Grace prioritizes Combo on gear and also looks for Crit. Use these as your starting filters. Combo rate and Combo damage are different labels: one concerns triggering extra hits, the other their damage. Check which stat an upgrade actually changes before trading away a useful item.
| Stat or effect | What to compare |
|---|---|
| Combo / Combo rate | Extra-hit chance. Keep it separate from Combo damage. |
| Combo damage | Damage of those extra hits. It is not another name for their chance. |
| Crit / Critical rate | Critical-hit chance. Compare the actual label with Crit damage. |
| Attack speed | Attack tempo. Inspect its source and duration rather than treating it as the same gear affix as Combo. |
Sacred Hunter and Plume Monarch: check your progression

The class image shows the Sacred Hunter path from our original 2024 guide. It is one Archer direction, not a complete map of every later progression system. If you are preparing the next progression step, use our awakening guide alongside the requirements shown in your own class menu.
For Plume Monarch after awakening, Grace’s mid-to-late-game guide assumes awakening is complete and the main pink Souls are available. It separates PvE and PvP builds. Do not copy its entire loadout into an earlier account simply because both characters are Archers.
Skills: choose damage, protection or healing
These are options for different gaps in a build. Start with what you have unlocked. Exact damage, duration and recovery values belong to the skill description in your game; the older screenshots show the levels and values captured at that time.
| Icon | Option and role |
|---|---|
 | Speed Surge Adds a temporary attack-speed boost. Compare it when attack tempo is the missing piece. |
 | Coin Bomb Temporarily supports basic-attack damage. Consider a damage option when you survive but cannot finish the fight. |
 | Shroom Shield Provides a shield. Consider protection when you lose too much health before the next useful attack window. |
 | Nature’s Renewal Restores health over time. It needs a fight long enough for that recovery to help. |
 | Smoke Bomb Amplifies damage taken by affected enemies. Its useful window matters when comparing the rest of your skills. |
Pals: make every support slot earn its place
A damage Pal and a skill-recovery Pal solve different problems. Before replacing a companion, write down the effect you would lose. If the fight ends before the next cast, a recovery effect may not address your immediate obstacle; if a defensive option lets you reach that cast, the comparison changes.
| Icon | Option and role |
|---|---|
 | Hero Bird An attack-speed option. Compare it with another support role rather than filling a slot on rarity alone. |
 | Cowboy Cactus Adds damage tied to basic attacks. Keep that role separate from increasing your own Combo rate. |
 | Warlord Hydrosprite Speeds up recovery of active skills. Check whether a further useful cast actually occurs during the fight. Faster recovery is not the same wording or calculation as an equally sized cooldown reduction. |
 | Chicken Hood Supports basic-attack damage. Compare it when damage, rather than survival, is the obstacle. |
 | Mecha Dragon Supports critical damage. Keep the damage bonus separate from critical-hit chance. |
Relics: match their conditions to your actual loadout
Read what activates the relic effect before spending upgrade resources. The relic catalogue also identifies Storm Necklace as a summon-specific effect. It is not a general bonus for the five skills listed above. Compare a suitable alternative in that slot if you are using no matching summon.
| Icon | Option and role |
|---|---|
 | Gilded Eggshell A chicken-Pal effect. Check that a matching chicken is actually in your lineup. |
 | Blessed Dew A cactus-Pal effect. Do not read its cactus Combo bonus as your character’s own Combo rate. |
 | Time Statue Extends the listed effects, including Smoke Bomb. It does not extend every skill in the game. |
 | Arrow King Mask A Combo-rate option. Compare the exact effect with what your character needs. |
 | Beasthide Book A boss-damage option. Do not assume its boss bonus applies to every stage enemy. |
 | Storm Necklace Supports summoned units from Heroic Descent and Clone Strike. Without a matching summon skill, that summon-specific effect is not a reason to choose it. |
When the build stalls: change one thing at a time
| What happens | A useful next comparison |
|---|---|
| You die early | Compare one damage slot with protection or recovery. Observe whether you reach another useful action. |
| You survive but the timer expires | Compare a survival slot with a damage option against the same opponent. |
| A relic has no matching skill or Pal | Choose a relic whose named condition your lineup actually meets. |
| PvE improves but PvP gets worse | Keep the modes separate. Compare against the same kind of opponent rather than treating both results as one score. |
Keep equipment, other upgrades and opponent as similar as possible. Repeat the encounter when the game allows it and note the result. One lucky critical sequence is weak evidence for a permanent switch. This is also a reason not to spend scarce resources on several untested changes at once.

